- About the Course:
In this course you'll gain an introduction to the modern study of dynamical systems, the interdisciplinary field of applied mathematics that studies systems that change over time.
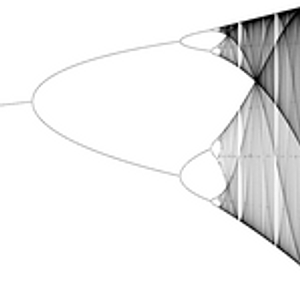
Topics to be covered include: phase space, bifurcations, chaos, the butterfly effect, strange attractors, and pattern formation. The course will focus on some of the realizations from the study of dynamical systems that are of particular relevance to complex systems:
1. Dynamical systems undergo bifurcations, where a small change in a system parameter such as the temperature or the harvest rate in a fishery leads to a large and qualitative change in the system's behavior.
2. Deterministic dynamical systems can behave randomly. This property, known as sensitive dependence or the butterfly effect, places strong limits on our ability to predict some phenomena.
3. Disordered behavior can be stable. Non-periodic systems with the butterfly effect can have stable average properties. So the average or statistical properties of a system can be predictable, even if its details are not.
4. Complex behavior can arise from simple rules. Simple dynamical systems do not necessarily lead to simple results. In particular, we will see that simple rules can produce patterns and structures of surprising complexity.
- About the Instructor(s):
David Feld
 man is Professor of Physics and Mathematics at College of the Atlantic. From 2004-2009 he was a faculty member in the Santa Fe Institute's Complex Systems Summer School in Beijing, China. He served as the school's co-director from 2006-2009. Dave is the author of Chaos and Fractals: An Elementary Introduction (Oxford University Press, 2012), a textbook on chaos and fractals for students with a background in high school algebra. Dave was a U.S. Fulbright Lecturer in Rwanda in 2011-12.
- Class Introduction:
- Class Introduction
- How to use Complexity Explorer:
- How to use Complexity Explorer
- Enrolled students:
-
1,944
- Course dates:
-
04 Sep 2017 4pm UTC to
05 Dec 2017 2am UTC - Prerequisites:
-
A familiarity with basic high school algebra. There will be optional lessons for those with stronger math backgrounds.
- Like this course?
- Donate to help fund more like it
- Twitter link
- Follow Course on Twitter
Syllabus
- Introduction I: Iterated Functions
- Introduction II: Differential Equations
- Chaos and the Butterfly Effect
- Bifurcations: Part I (Differential Equations)
- Bifurcations: Part II (Logistic Map)
- Universality
- Phase Space
- Strange Attractors
- Pattern Formation
- Summary and Conclusions